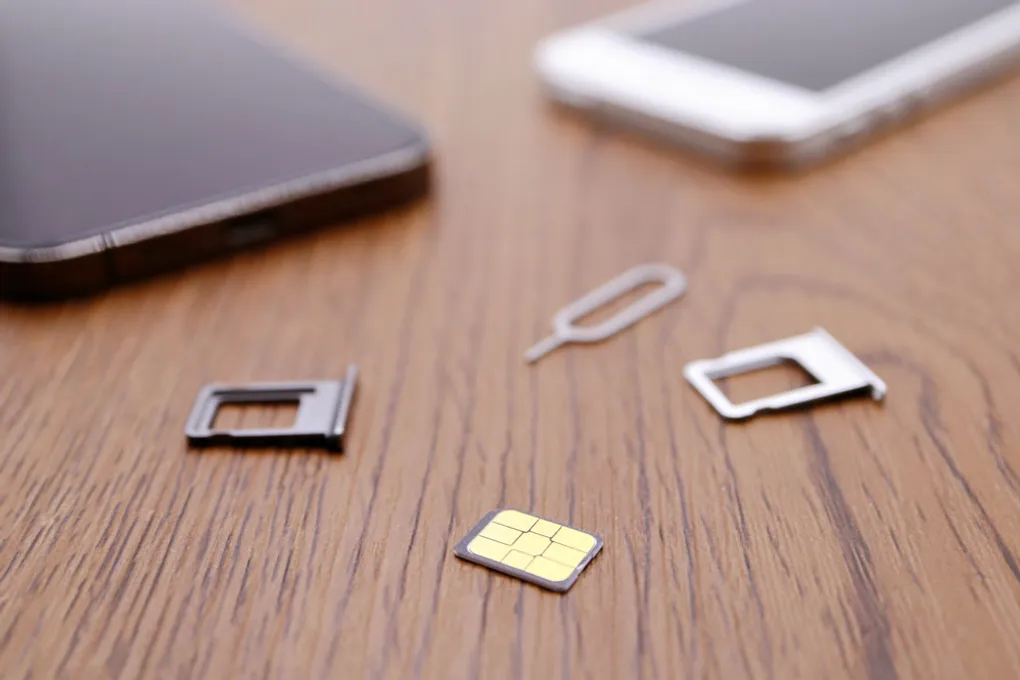
How to Switch from Physical SIM to eSIM: Step-by-Step Guide
How to Switch from Physical SIM to eSIM: Step-by-Step Guide
Switching from a physical SIM card to an eSIM can feel intimidating if you haven’t done it before, but the process is actually simple and offers many advantages. From convenience to flexibility, an eSIM allows you to manage multiple mobile plans digitally without the need to swap physical cards.
In this guide, we’ll walk you through why you should switch, how to switch safely, and tips to avoid common pitfalls, so your transition is seamless.
1. Why Switch to eSIM?
Before jumping into the steps, here’s why many people are making the switch:
- No more physical SIM swapping — easily add, remove, or switch plans in your phone settings.
- Travel-friendly — install international or local plans without buying a local SIM card.
- Multiple plans on one device — keep your home plan and add travel/data plans simultaneously.
- Future-proof device design — without a SIM tray, manufacturers can design slimmer devices with larger batteries.
- Reduced risk of loss — no physical card to misplace or damage.
2. Check Your Device Compatibility
Not all devices support eSIM, so the first step is checking compatibility:
- iPhone: Models from iPhone XS, XR, 11, 12, 13, 14, 15 and newer support eSIM.
- Android: Many recent Samsung, Google Pixel, and Huawei devices support eSIM — check your phone’s official specs.
- Carrier support: Your mobile carrier must support eSIM activation. Many major carriers worldwide already do, but always confirm.
3. Backup Your Existing SIM Data
Before switching:
- Save important contacts stored on your physical SIM. Most modern phones automatically sync contacts to cloud accounts (iCloud, Google).
- Note your current mobile plan, PIN, and account information.
- If you have SMS verification codes linked to your number, make sure they are backed up or accessible after switching.
4. How to Switch: Step-by-Step
Here’s a general step-by-step process. The exact flow may vary slightly depending on your carrier and device.
Step 1: Request Your eSIM
- Contact your carrier and request an eSIM activation.
- You may receive a QR code, an activation code, or a carrier app link to download the eSIM.
Step 2: Add eSIM Profile to Your Device
-
iPhone:
- Go to Settings → Cellular → Add Cellular Plan.
- Scan the QR code or enter the activation code.
- Confirm the plan is active.
-
Android (Samsung/Google Pixel):
- Go to Settings → Connections → SIM card manager → Add mobile plan.
- Scan the QR code or use the carrier app.
- Follow on-screen prompts to finish activation.
Step 3: Test Your Connection
- Once the eSIM is active, turn off mobile data and turn it back on to verify.
- Make a test call or send a message if your plan includes voice/SMS.
- Check data speeds and roaming if applicable.
Step 4: Remove Physical SIM (Optional)
- After confirming your eSIM works, you can remove the physical SIM if desired.
- Keep the old SIM card in a safe place in case you need it for troubleshooting or future use.
5. Tips for a Smooth Transition
- Install eSIM before traveling if your plan is travel-related.
- Keep your phone connected to Wi-Fi during installation.
- Label eSIM profiles in settings for easy identification if you have multiple plans.
- Update your carrier settings to avoid service disruptions.
- Check hotspot compatibility if you plan to share mobile data.
6. Potential Challenges
- Some older devices cannot switch back from eSIM to physical SIM without a carrier reset.
- Not all carriers support eSIM for prepaid plans.
- International roaming might require separate eSIM plans in certain regions.
7. Conclusion
Switching to an eSIM is becoming the standard for mobile users who value flexibility, simplicity, and travel convenience. Once set up, managing multiple plans, adding travel data, and staying connected globally is much easier than ever.
At EsimEcho, we provide guides, recommended providers, and step-by-step instructions to make your switch smooth and stress-free. Say goodbye to physical SIM swaps and embrace the digital SIM era today.
🔗 Related Reading
- What Is eSIM? A Beginner’s Guide
- Best eSIMs for Travelers in 2025
- eSIM vs Physical SIM: Which One Should You Use?
Start your eSIM journey today — stay connected anywhere in the world effortlessly! 🌍📱